Convert Contract Workers to Permanent Roles on greytHR
Updated in February - 2026 | Subscribe to watch greytHR how-to video
Whenever an organization requires manpower, the organization prioritizes the employees who are already associated with them, such as contract employees or interns. If suitable, the contract employees can be converted into regular employees. To add the contract employee as a regular one, first, we must process and settle the full and final settlement of the contract employee. Post-settlement, you must add the settled employee as a new employee.
Add a settled contract employee as a new employee
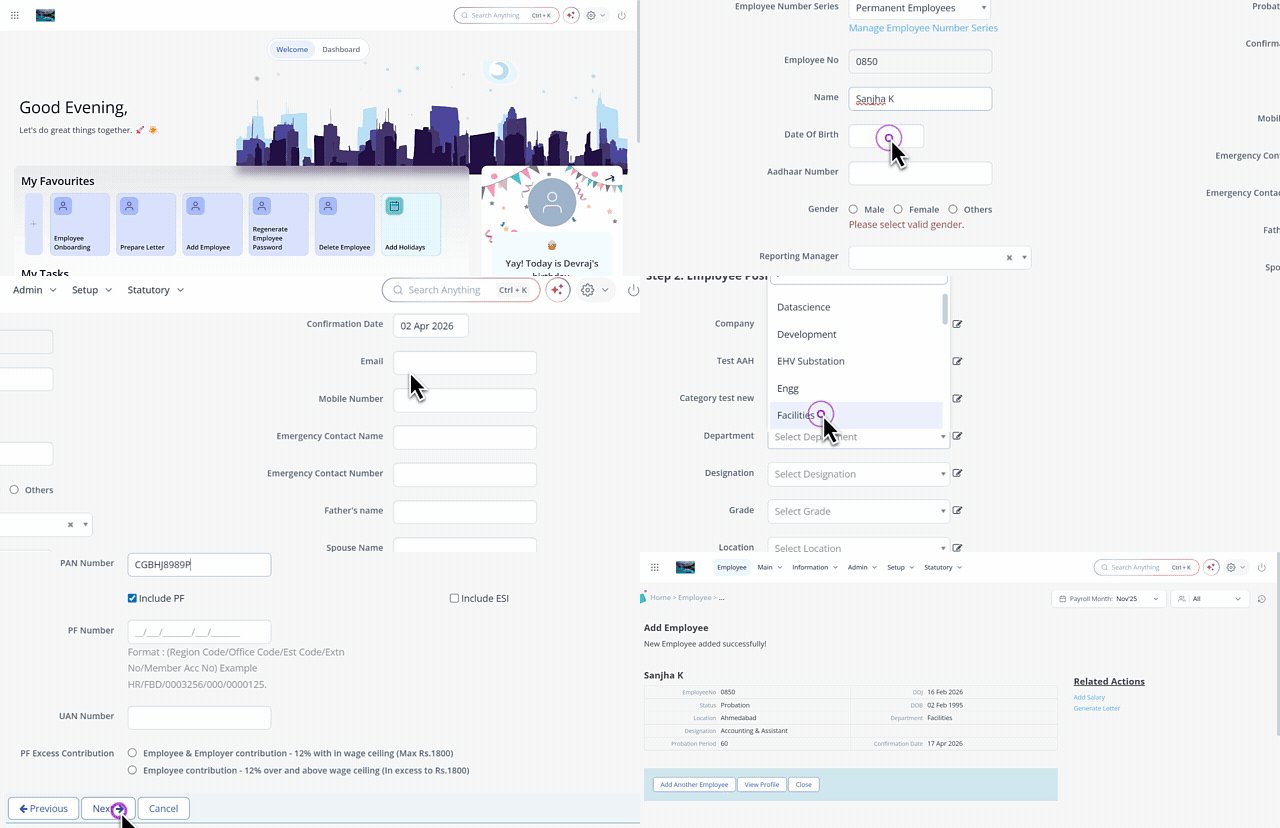
To add a settled employee as a new employee, from your greytHR Admin portal, select Add Employee from the NAVOS search bar.
Alternatively, you can add a new employee from the Analytics Hub page by clicking the Add Employee option.
Under Step 1: Basic Information section, enter the basic details of the employee, such as Employee Number Series, Employee No, Reporting Manager, Date Of Joining, and Emergency Contact Number. We recommend you fill in as many details as possible.
Select Allow the employee to fill in their information check box to allow the employee to fill in their information during onboarding.
Click Employee Onboarding Policy. The link redirects you to the Employee Information Settings page. The page enables you to make changes to the employee onboarding form.
Click Next. Step 2: Employee Position form opens.
Enter the employee details such as Designation, Department, Grade, Location, and Attendance Scheme.
Click Next. Step 3: PF, ESI & LWF form opens.
Enter employee details such as PAN Number, PF Number, and UAN Number.
Select an appropriate PF Excess Contribution option.
Click Next. Step 4: Payment Mode form opens.
From the Payment Type dropdown list, select the mode of payment.
Note: If you select the option Bank Transfer/Demand Draft, you must enter the additional details such as Bank Name, Bank Branch, DD Payable At, and Account Number.Click Finish to complete the process of adding a new employee. A page appears and displays the summary of details of the new employee.
Other related links: