Automate Shift Change Requests with greytHR's Request Hub
Updated in November - 2025 | Subscribe to watch greytHR how-to video
Managing shifts manually in industries with 24/7 operations is complicated and time-consuming. It often leads to communication gaps, staffing shortages, and compliance issues that impact both efficiency and employee satisfaction.
The new Shift Change Request workflow in greytHR’s Request Hub helps you automate this process with well-defined steps for requesting, reviewing, and approving shift changes.
It helps you save time, ensure compliance, and improve employee satisfaction with transparent shift management. Employees or managers can raise requests that route through configured reviewers.
Set up a shift change workflow request
To set up the shift change workflow request, from your greytHR Admin portal, hover over the 9 dots and select Workflow > Setup > Workflow Levels > Add Workflow Levels.
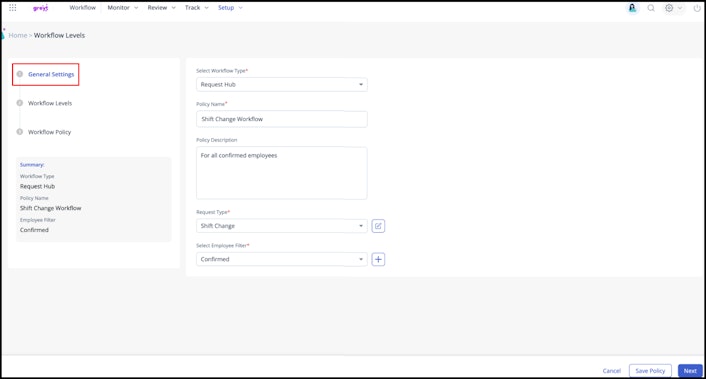
General Settings
From the Select workflow type dropdown list, select Request Hub.
Enter the Policy Name as Shift Change Workflow. You can also add a Policy Description if needed.
Select the Request Type as Shift Change.
Select the required option from the Select Employee Filter dropdown list.
Click Save Policy to save the General Settings.
Click Next to move to the Workflow Levels settings.


Workflow Levels
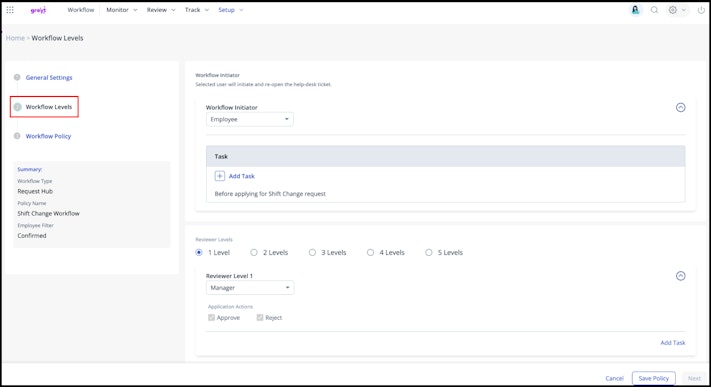
Under the Workflow Levels settings, select the Workflow Initiator as Employee or Manager.
Click Add Task to create a task list for the initiator.
On the Create Task window, provide the Task Name and Description.
You can also add attachments and make it mandatory for the reviewer to review.
Click Add Form to create a customized form for the reviewer.
Click Save to finalize the task creation.
Select the required number of reviewer levels (1 Level/2 Levels/3 Levels/4 Levels/5 Levels). You can also create a task list for the selected reviewer, if required.
Select Application Actions based on your requirements. Available actions for reviewers include:
Approve: Approve the request, and the workflow will get closed, and the employee will be notified.
Approve & Forward: Approve the request and forward it to the next reviewer (available when multiple reviewers exist).
Reject: Reject the request (available for all reviewer levels).
Click Save Policy to save the Workflow Levels.
Click Next to move to the Workflow Policy settings.


Workflow Policy
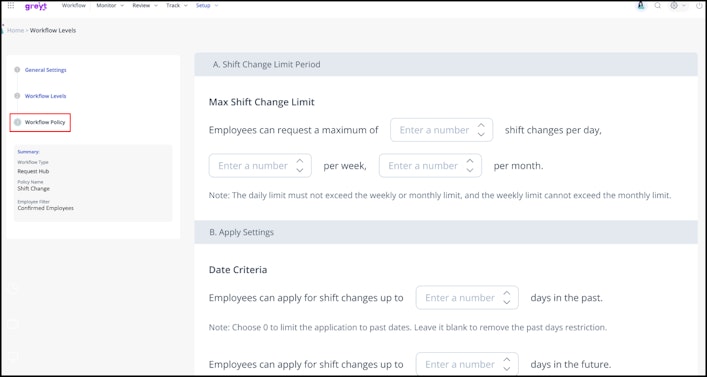
Under the Workflow Policy settings, in the Shift Change Limit Period section, you can define how many times employees are allowed to request shift changes in a day, week, or month.
In the Date Criteria section, you can set the number of days in the past or future for which an employee is allowed to request a shift change.
You can also restrict shift change requests to specific shifts by selecting them from the available list.
In the Restriction Criteria section, you can set the maximum number of consecutive days for shift change requests and restrict employees from requesting changes for specific shifts.
In the Advance Notice section, you can set the minimum number of days employees must submit shift change requests in advance.
In the Auto Approve After Days, you can set the number of days after which shift change requests are auto-approved.
In the Reason Criteria, you can make it mandatory or optional for employees to provide a reason when applying, and define the reason type to be selected.
Click the Finish and Save Policy option to create the Shift Change Workflow request.


Activate the workflow request
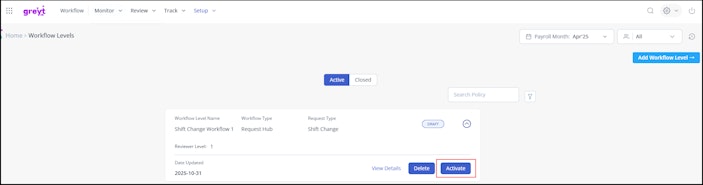
After creating the Shift Change Workflow request, you need to activate it. Go to the Workflow Levels page and click the Activate button on the policy card, and choose the required date.


Note:
You cannot edit the workflow request after activating it, but you can Delete it.
Review shift change workflow requests
To review the requests to change employee shifts, from your greytHR Admin portal, hover over the 9 dots and select Workflow > Review > Request Hub.
Search for the Request Type as Shift Change.
On the Review Request page, complete the assigned task, if any, fill out the form, Mark as Completed, and click Save Changes.
Note: You can view the previous actions under the Timeline section.In the Approval Details section, accept/reject or forward the shift change request as required. Once done, click Submit.
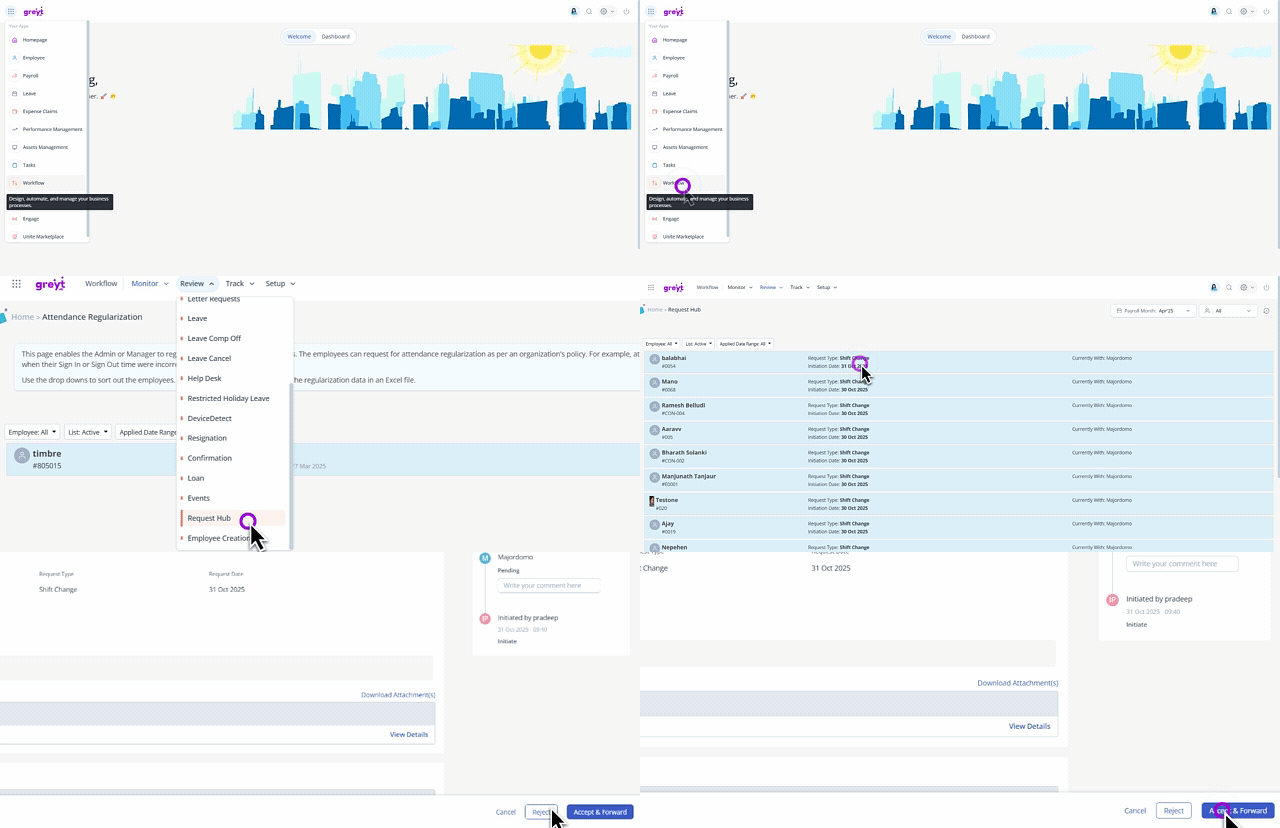
To view the approved or rejected requests, select the Completed option from the List dropdown.
Related articles: